Laying new turf? Here's how to prepare
Turf is usually the last step of any project, and it’s often the most satisfying one. It’s the moment everything comes together, and the space finally looks finished.
But what lies beneath that turf determines how it performs in the long term.
We’ve seen plenty of great turf struggle simply because the preparation wasn’t quite right. On the flip side, when the groundwork is done properly, lawns establish quickly and hold their quality for years. Here’s what we recommend doing in the lead-up to laying your turf.
Key takeaways
- The time you spend preparing the ground is what sets your lawn up to perform well long-term.
- Clearing weeds and debris properly at the start saves you from patchy growth and issues showing up later.
- Getting your soil depth, underlay, and levels right helps the lawn grow evenly and look the way you expect.
- Laying turf soon after prep, and giving it a bit of support early on, helps it settle in and get off to a good start.
Step 1. Complete all other landscaping
Before you even think about preparing the soil, take a look at everything else happening in the space.
Retaining walls, paths, garden edging, and irrigation should already be done. Once turf is down, you don’t want to be backtracking with machinery or foot traffic that undoes the work you’ve just done.
Having those elements in place also gives you a clear reference for heights, which makes levelling far easier and more accurate.
Step 2. Remove any existing lawn or weeds
Removing the existing grass or weeds is one of those steps that can be rushed, and it usually shows later.
Old grass and weeds don’t just disappear under new turf. They compete with it, push back through, and before long, you’ve got a patchy lawn that never quite looks right.
Spraying out the area is often the most effective approach, followed by clearing off any remaining material. In heavier weed situations, it can take more than one round to get on top of it. Trust us, it’s time well spent.
Step 3. Clear the area of debris
Once the area is cleared, go through and remove anything sitting in the soil that could cause problems later. Rocks, sticks, building debris, and old roots can all create uneven spots and limit root growth.
At this stage, you’re aiming for a clean, completely flat surface to work from.
It might feel like a small job at the time, but it makes a noticeable difference once the lawn is down.
Step 4. Work the ground and build it up
This is usually the make-or-break stage of your soil preparation.
You’re aiming for a depth of around 100mm of workable topsoil across the area. That might mean breaking up what’s already there, bringing in new soil, or a combination of both. It’s also worth checking your pH at this stage. Some areas have naturally acidic soils, and if that’s the case, a lime application before you lay turf can influence how well it establishes.
If the existing ground is hard or compacted, roots will struggle to push through it. You’ll start to see areas that dry out faster, don’t grow properly, or never quite match the rest of the lawn.
Something we see regularly is uneven soil depth, where some areas have been built up properly, and others haven’t. That’s what causes inconsistent growth and colour across an otherwise decent lawn.
Step 5. Choosing the right turf underlay
Underlay gives new turf something to settle into and allows moisture and nutrients to move through the soil more evenly. High-quality turf underlay also supports root development during those first critical weeks, when your lawn is most vulnerable.
Step 6. Fertiliser
Something worth doing before the turf goes down is applying a lawn starter fertiliser across the soil.
Before your turf arrives at your door, it’s already been through a lot. It’s been cut, stacked, transported, and then asked to settle into a completely new environment with limited root structure to draw on. A good starter fertiliser gives it some support while it finds its feet.
Starter fertilisers are formulated differently from general-purpose products. They’re higher in phosphorus, which drives root development, and potassium, which helps the plant handle heat, dry spells, and disease. The last thing a newly laid lawn needs is a push for leaf growth before the roots are established.
Some starter fertilisers also include water crystals, which sit in the soil, absorb excess moisture, and release it back when things start to dry out. In a Queensland summer, that backup can be the difference between a lawn that settles well and one that struggles through its first few weeks.
If you want to learn more about fertiliser, check out our blog: Is applying lawn starter fertiliser a necessary step when laying a new lawn?
Step 7. Level the area and allow for drainage
Levelling isn’t just about how the lawn looks. It’s about how it behaves.
Smooth the area out and create a gentle fall away from any buildings. Water needs somewhere to go, and if it doesn’t have one, it sits in the lowest spots. Those areas tend to go soft, discolour, or become prone to disease over time. Higher spots, on the other hand, dry out too quickly.
Standing back and looking across the surface from different angles helps you pick up anything that needs adjusting. It’s much easier to fix now than after installing turf.
Step 8. Time your preparation
Ideally, your turf should be laid as soon as possible after the ground has been prepared. Leaving freshly prepped soil exposed for too long can quickly undo the work you’ve already put in.
Exposed soil is vulnerable to the elements. Rain can wash away the surface you’ve levelled, weeds can start to re-emerge, and the soil can compact. This means you may lose that loose, workable structure that is critical for strong turf establishment.
To get the best result, aim to have your turf delivered and immediately installed within 48 hours of completing your prep work. This helps lock in the condition of the soil and gives your new lawn the best possible start.
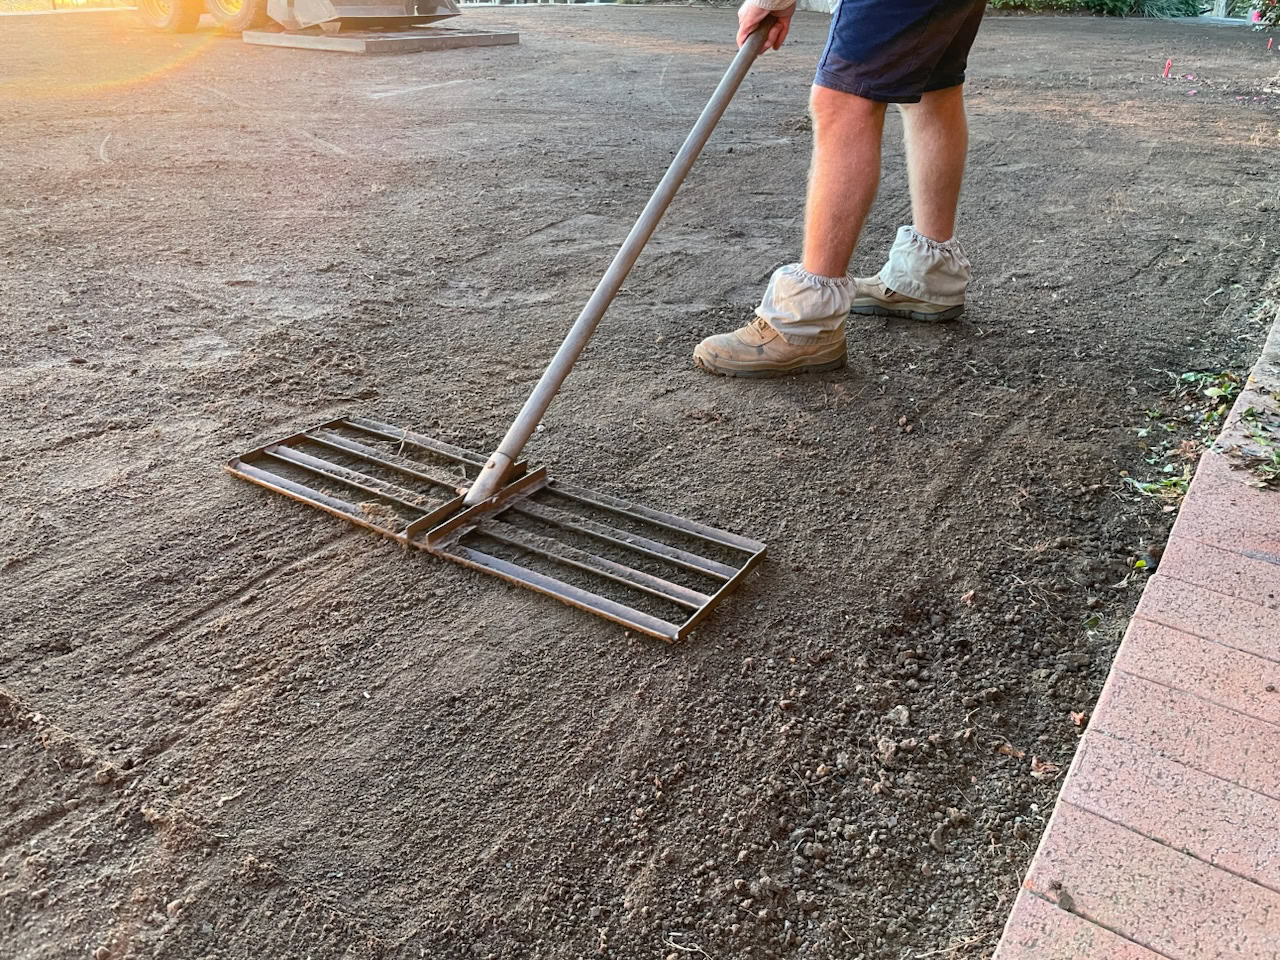
If there is a delay, it’s important to revisit the area before laying. A light rake over the surface will bring the soil back to the right level and condition. A soil rake is ideal for this job and will help restore a smooth, even base ready for installation.
Set your lawn up for success with West Turf
Turf is only as good as what it’s laid on. Taking the time to get the ground right gives your new lawn the best chance to perform well and look the way you expect. It also means you’re not going back to fix things later, which is always more involved than it sounds.
If you’re unsure about your soil, your levels, or how much preparation your site needs, give us a call, and we can point you in the right direction.